ARS Online Manual
C-11 Information
The C-11 form is the employer's notification to the New York State Insurance Fund (SIF) and the Worker's Compensation Board (WCB) of an injured employee's change in work status or return to work. ARS users are required to complete the C-11 Information page as soon as the employment status of the injured employee changes. The most common uses of the C-11 form are to document when an employee:
- returns to work (regular or modified duty);
- returns to work part-time;
- goes back out of work due to the related injury;
- loses intermittent lost time;
- was required to return to work and does not, and;
- no longer works for an agency due to a resignation, retirement, death, or section 71 separation.
In order to complete the C-11 form in ARS, follow the instructions below.
Please also keep in mind updates that were made to the C-11 form, in Feb 2021, to accommodate the WCB form C-11 "Employer's Report of Injured Employee's Change in Status or Return to Work" version (06/17). Those updates can be found in this document: ARS Claims Management C-11 Updates
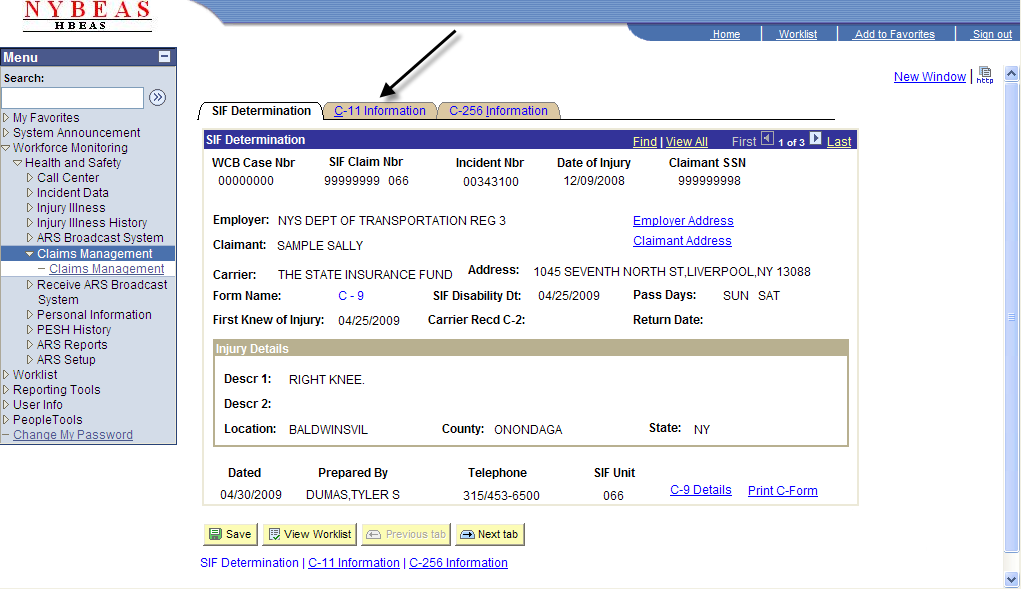
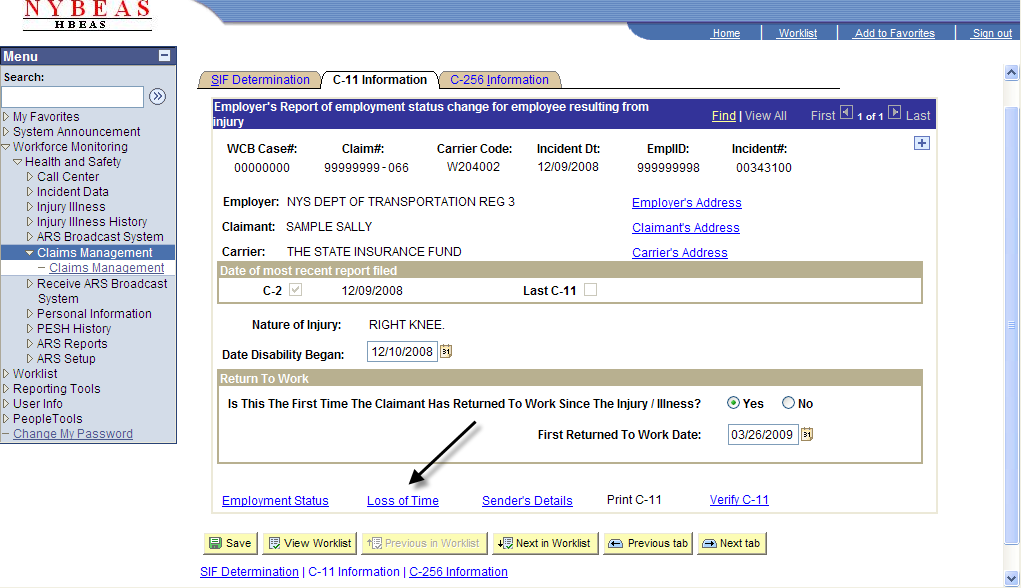
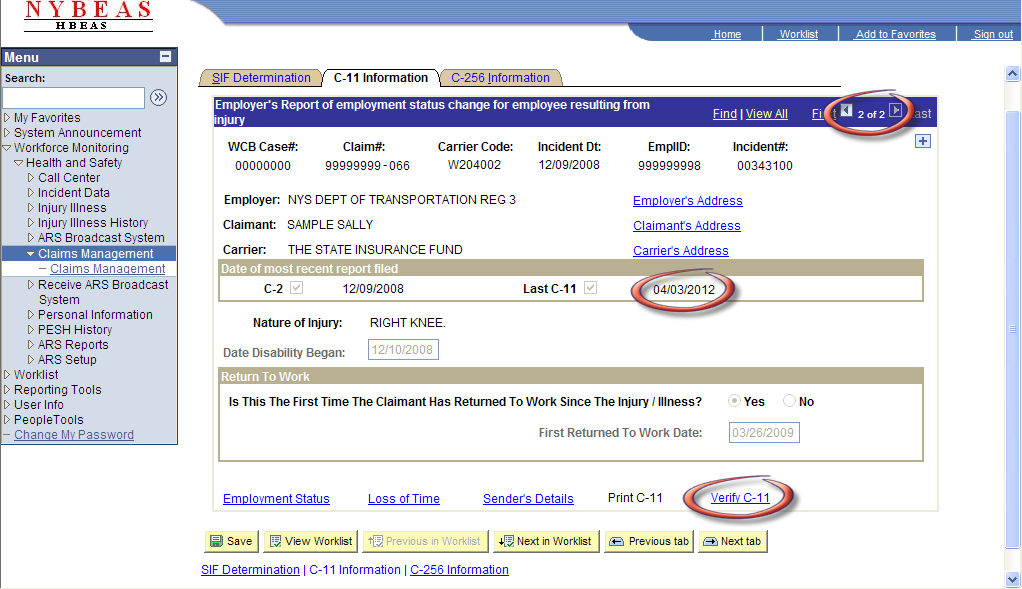
When you input a specific incident number into the Claims Management component, as shown in the Claims Management section of this manual, the SIF Determination page will automatically appear. Click on the C-11 Information page to complete a C-11 form.
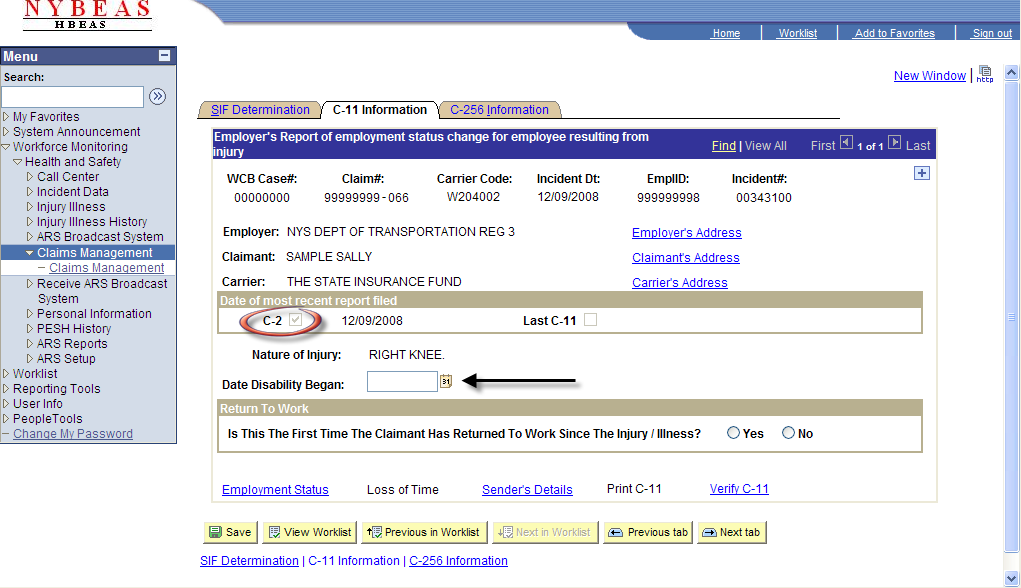
The date the C-2 form was originally sent to the SIF and WCB will be listed.
**Note** A SIF Determination (C-6, C-9, or C-7) must be received in ARS or a FROI Acknowledgement (ACK) before a C-11 can be processed.
If it is not already populated, enter the date in which the employee's disability began (the first full day the employee was abscent from work).
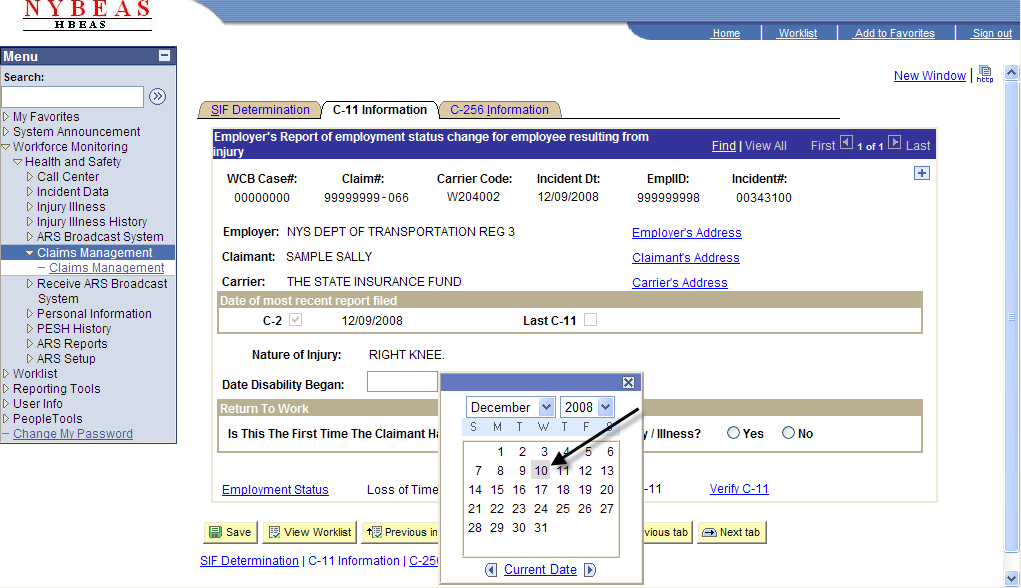
The calendar feature can be used to enter the date.
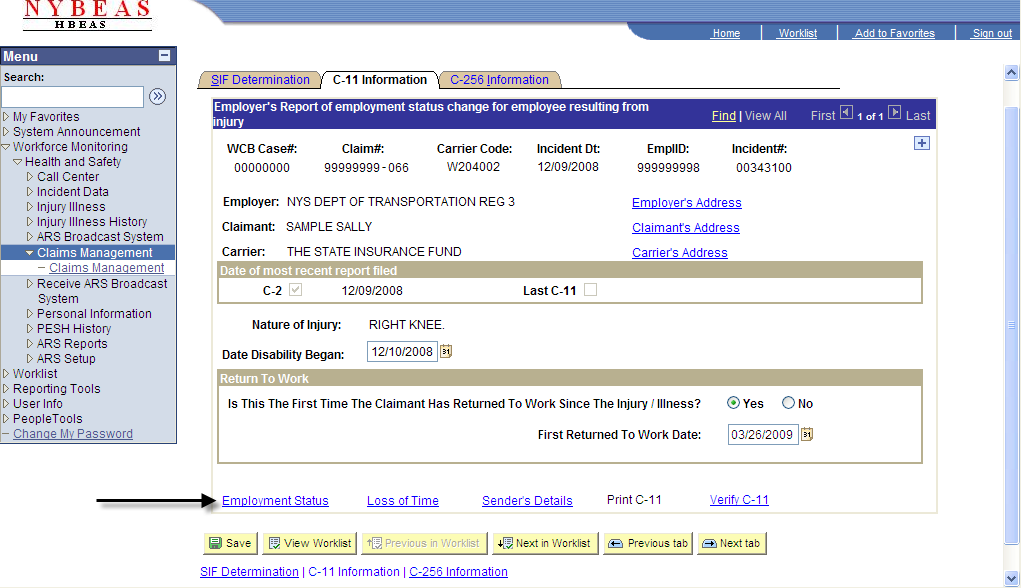
If it is the first time the employee is returning to work as a result of missing time due to the injury or illness, click Yes. Then, enter the date the employee returned to work.
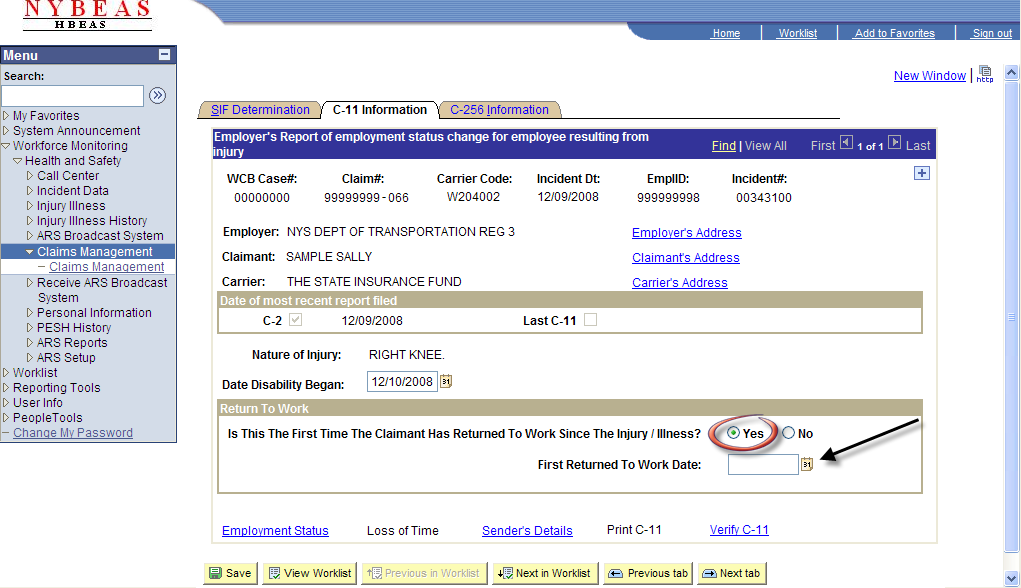
Next, click on Employment Status.
Choose Yes or No to the question, "Has injured died?"

If Yes is chosen, enter the Date of Death and the name and address of the nearest known relative as shown below.

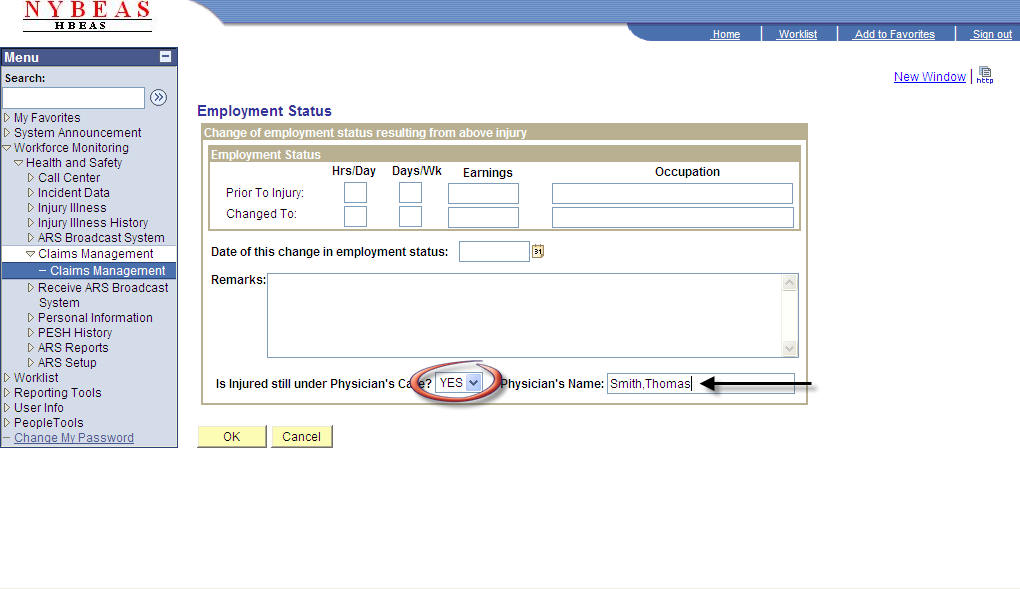
If the employee has not died, choose Yes or No to the question, "Is Injured still under Physician's care?"
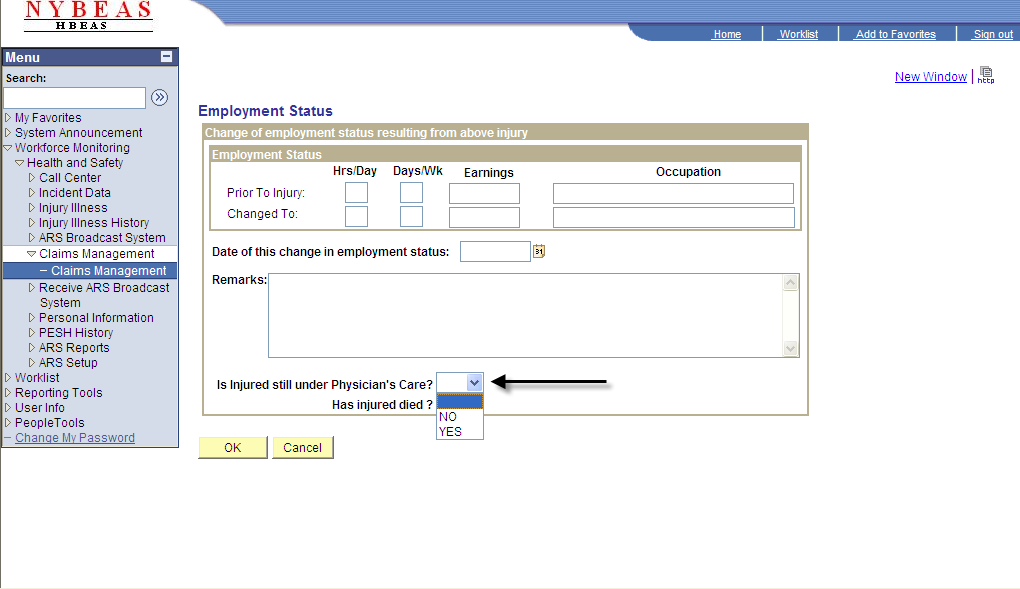
If Yes is chosen, enter the Physician's Name.
**Note** The correct format to enter a physician's name is 'Last,First' or 'Last,-'. If the treating physician's name is unknown, the correct format is 'Unknown,-'.
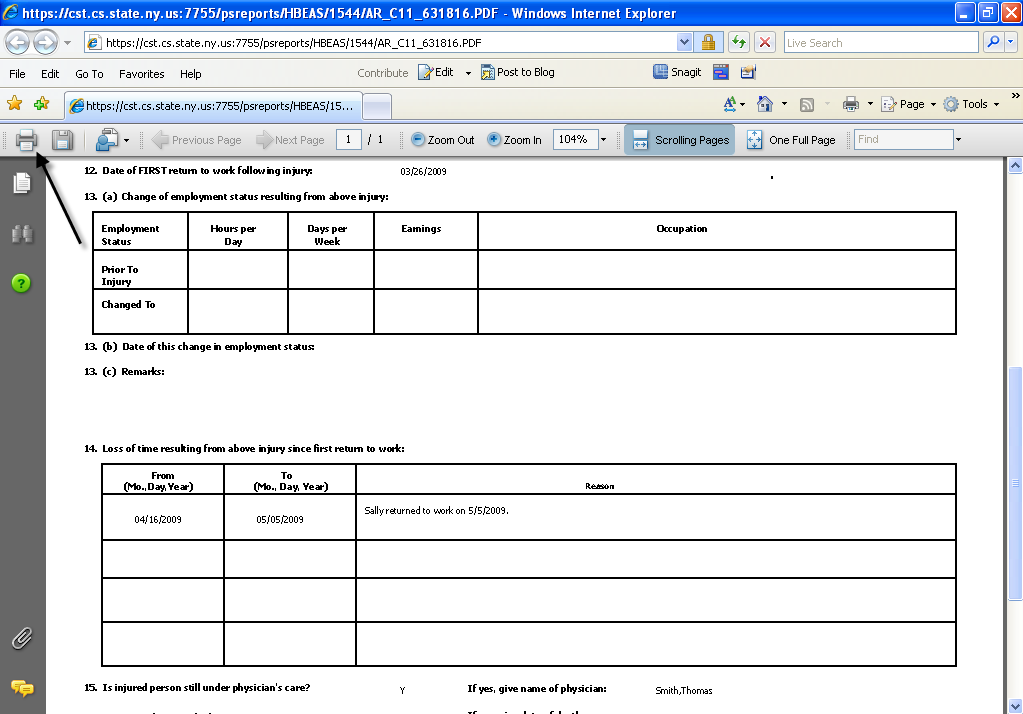
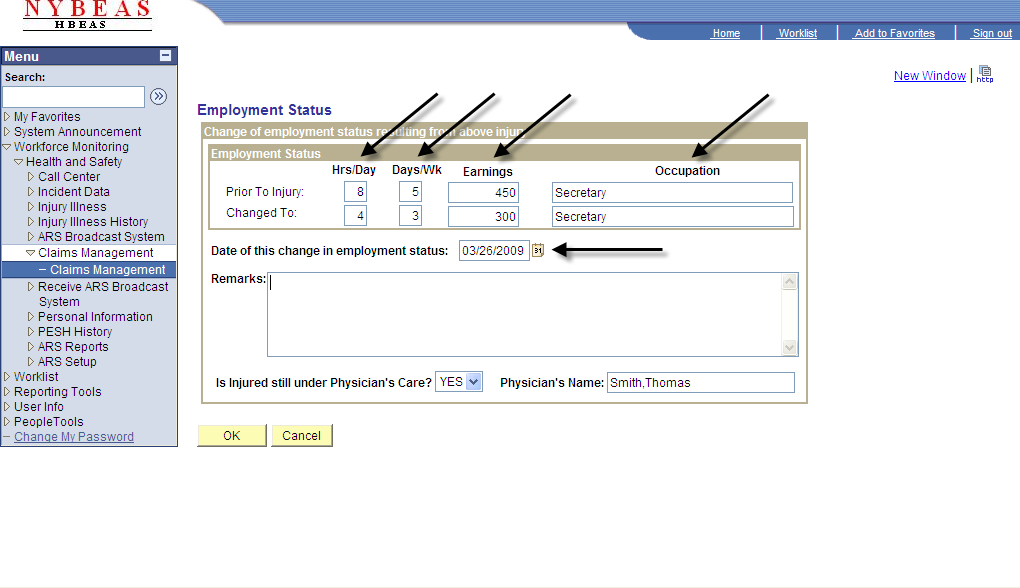
If an employee returns to work part-time, enter the number of hours per day and days per week the employee worked prior to the injury and subsequent to the employee returning to work. If the weekly earnings changed, enter the earnings prior to the injury and the amount it changed to. If the occupation changed, the difference in duties can be shown as well.
If the part-time data is inputted, enter the date in which the change in employment status took place.
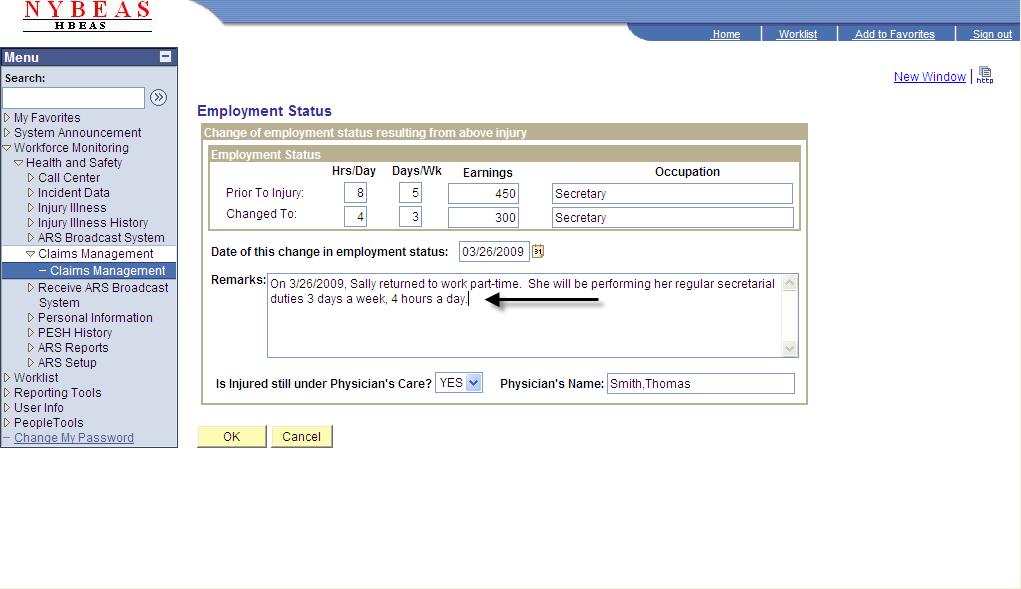
In the Remarks field, provide an accurate description of the change in employment status.
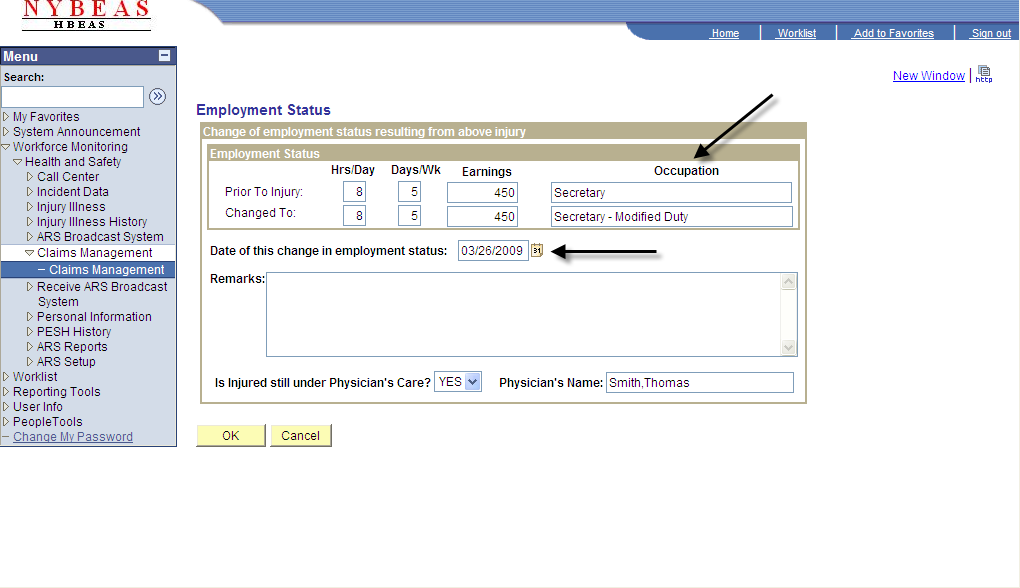
If the employee returns to work full-time in a modified duty capacity, the changes in status can be shown as well. Enter the date in which the employment status changed.
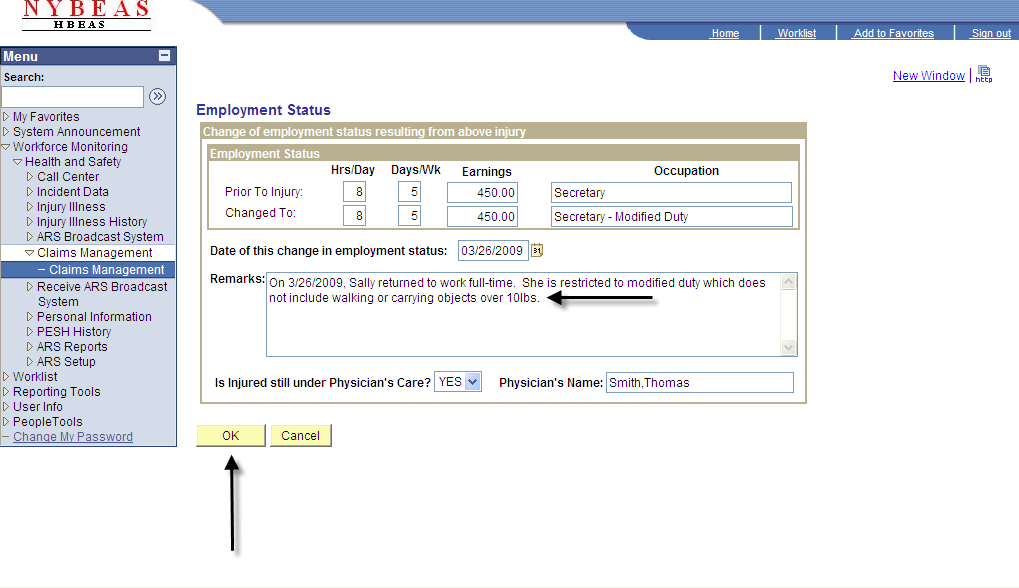
If the employee returned to work performing modified duties, provide an accurate description of the duties in which the employee will be performing if different from his/her regular duties.
**Note** If there are no changes to the employment status when the employee returns to work, only the physician care information will be required to be inputted on the page.
Click OK to save changes and return to the C-11 Information page.
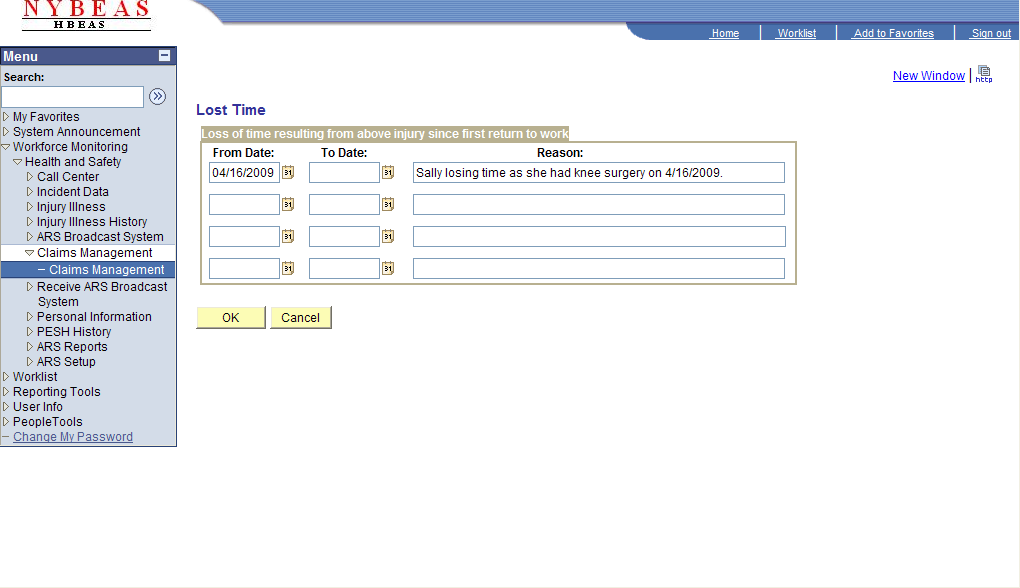
If the employee loses a period of time past the initial return to work date, click on Loss of Time.
If the employee loses time since the first return to work date and is currently losing time, it can be shown on the C-11 by entering the date the employee started to lose additional time and leaving the To Date blank. A reason for the loss of time should always be inputted.
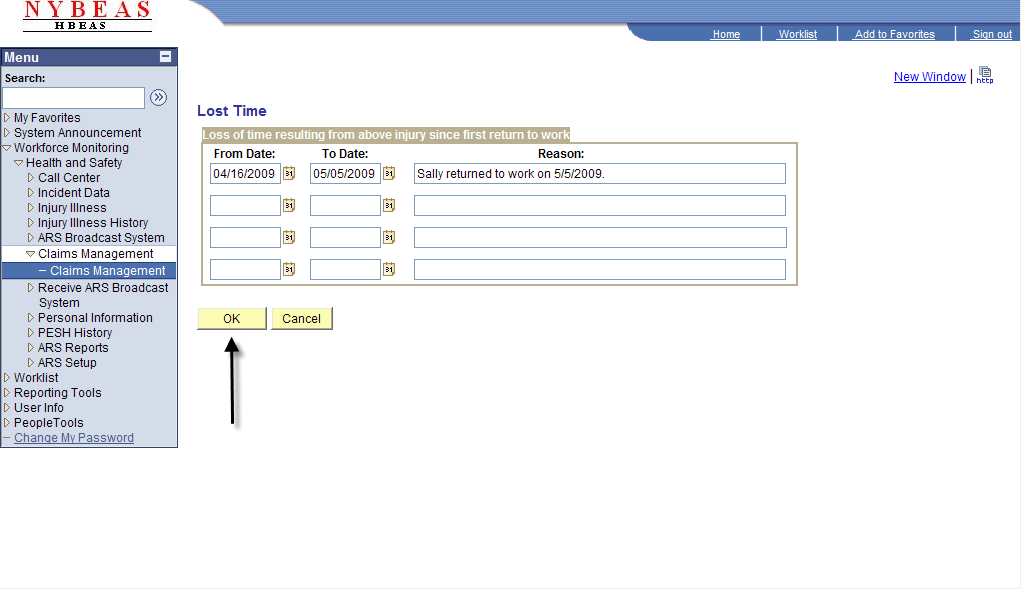
If the employee returned to work subsequent to the initial return to work date, enter the additional period of time the employee lost from work.
A user can input up to four periods of lost time on one C-11 form.
Click OK to return to the C-11 Information page.
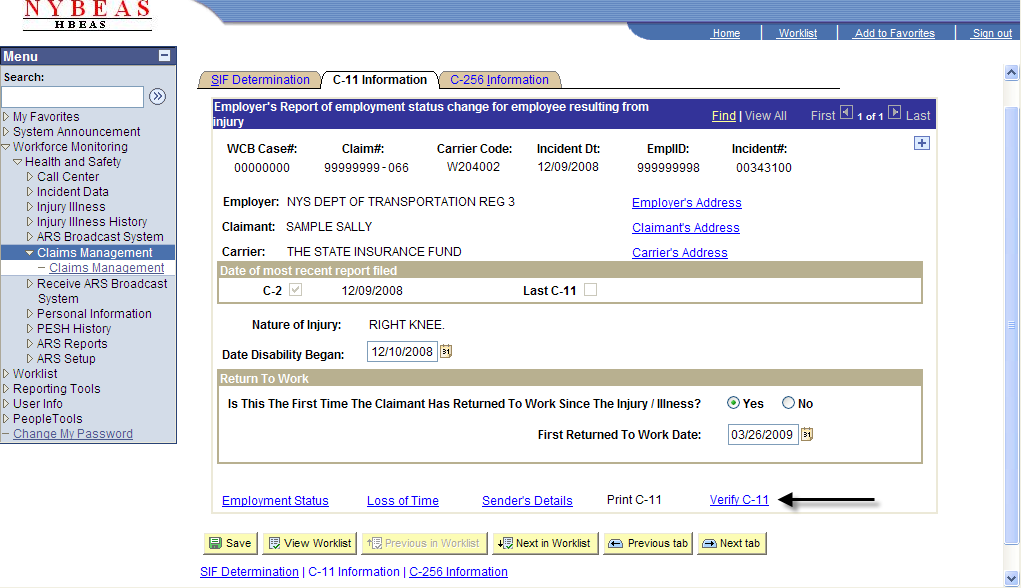
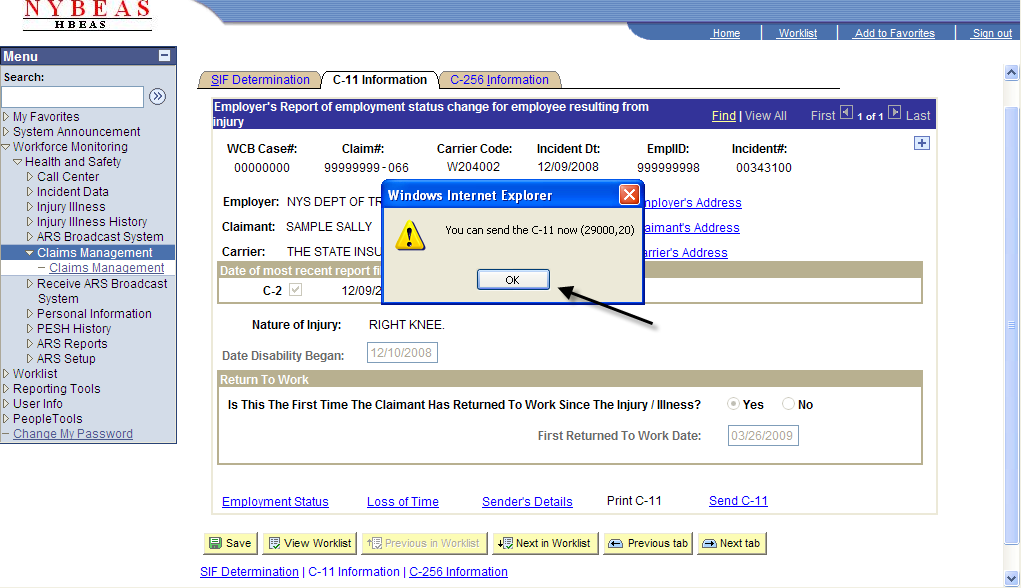
Once all the appropriate information has been entered, click Verify C-11.
If any error messages are prompted after clicking Verify C-11, correct the corresponding fields, then proceed with the C-11 verifying process.
When Verify C-11 is clicked and all the required information has been entered, a pop-up box will appear confirming, "You can send the C-11 now." To proceed, click OK.
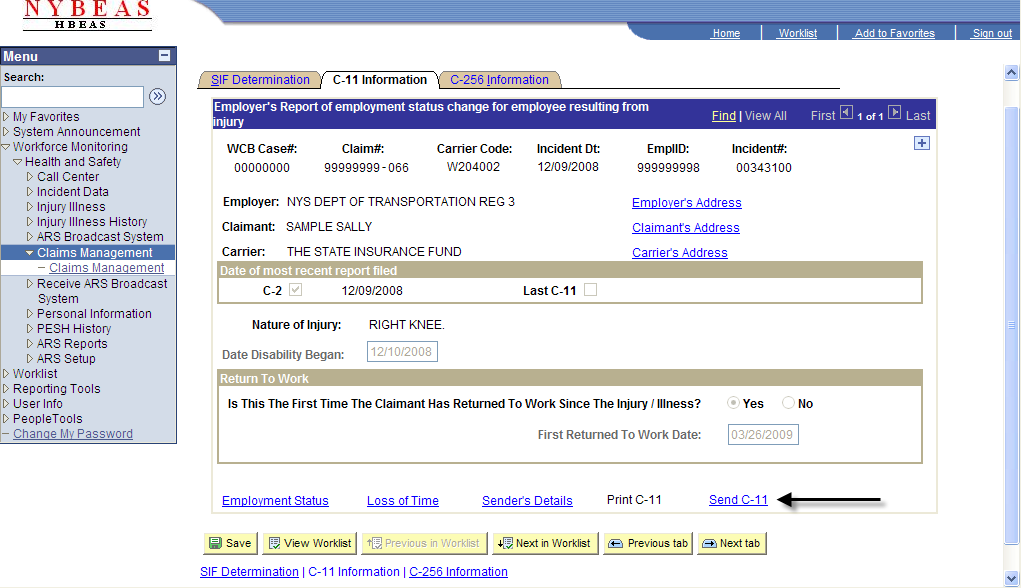
Click the Send C-11 button in order to electronically send the C-11 form to the New York State Insurance Fund and the Workers' Compensation Board the next business day.
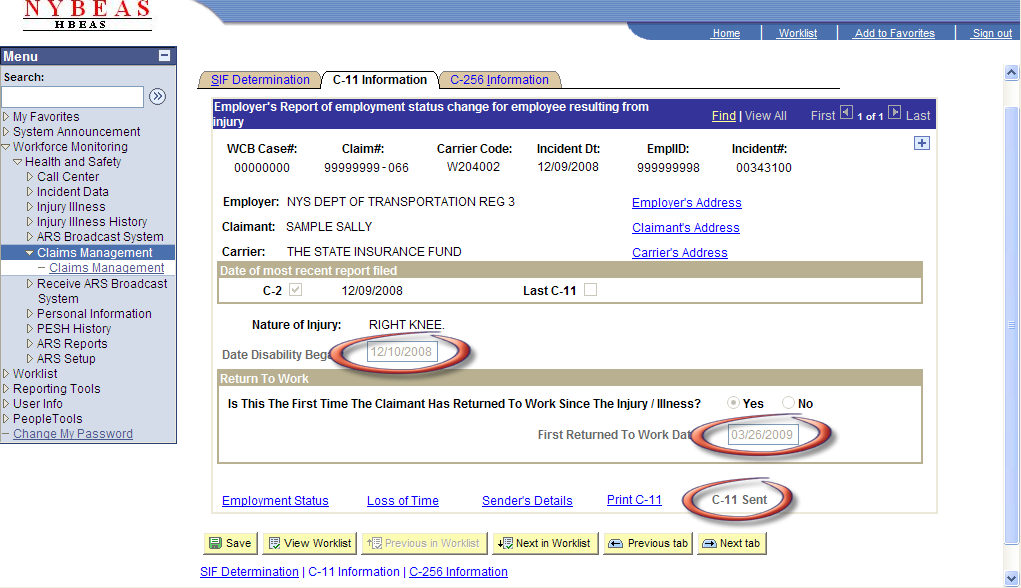
After the C-11 was sent, the date the disability began and the first return to work date will be grayed out. The same dates will populate for each additional C-11 form and cannot be altered.
In order to create an additional C-11, click the Plus icon as shown below.
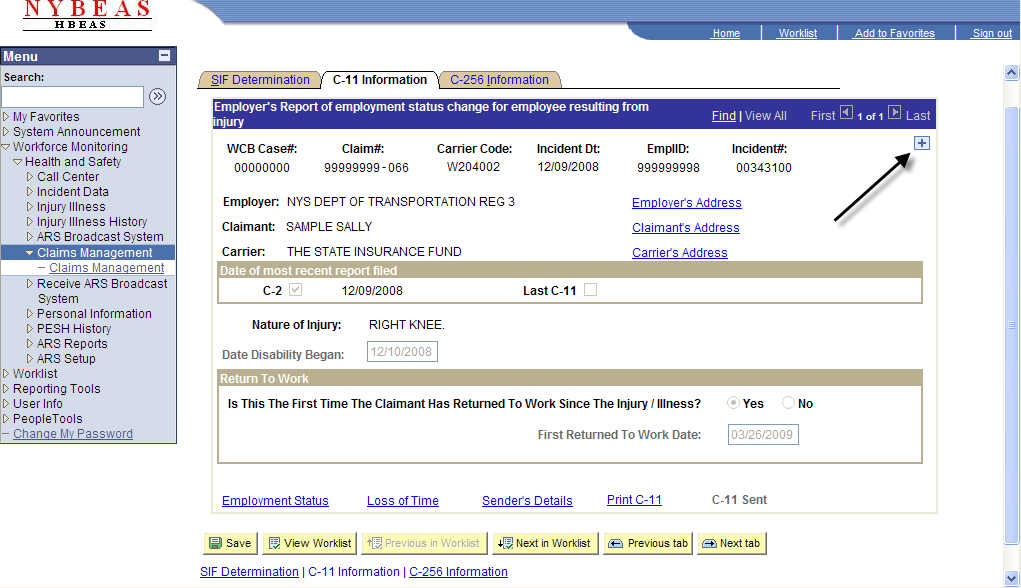
After the Plus icon is clicked, the number of pages will change. Also, the date in which the last C-11 was sent will appear.
Enter any employment status changes or additional loss of time as shown in the steps above.

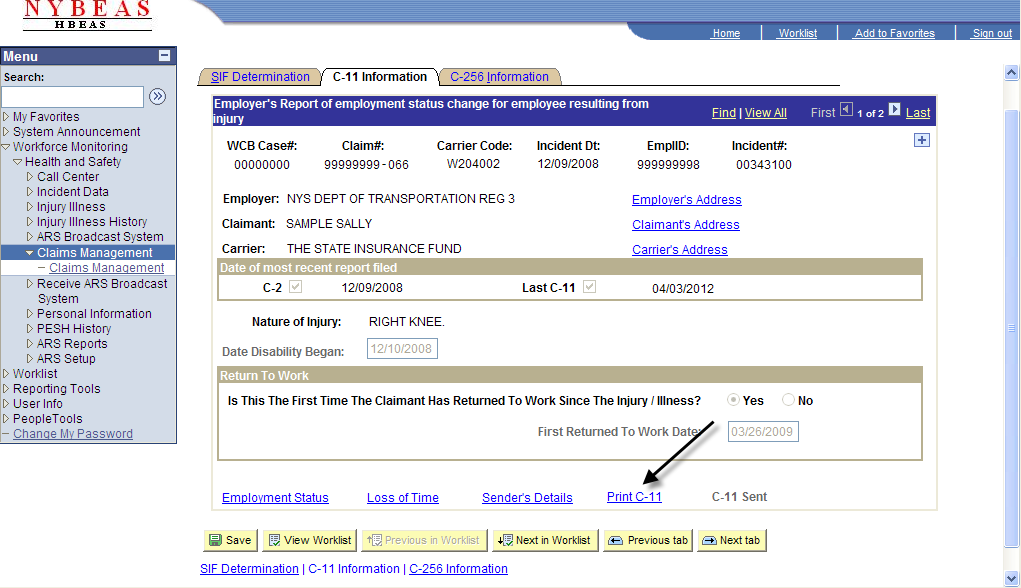
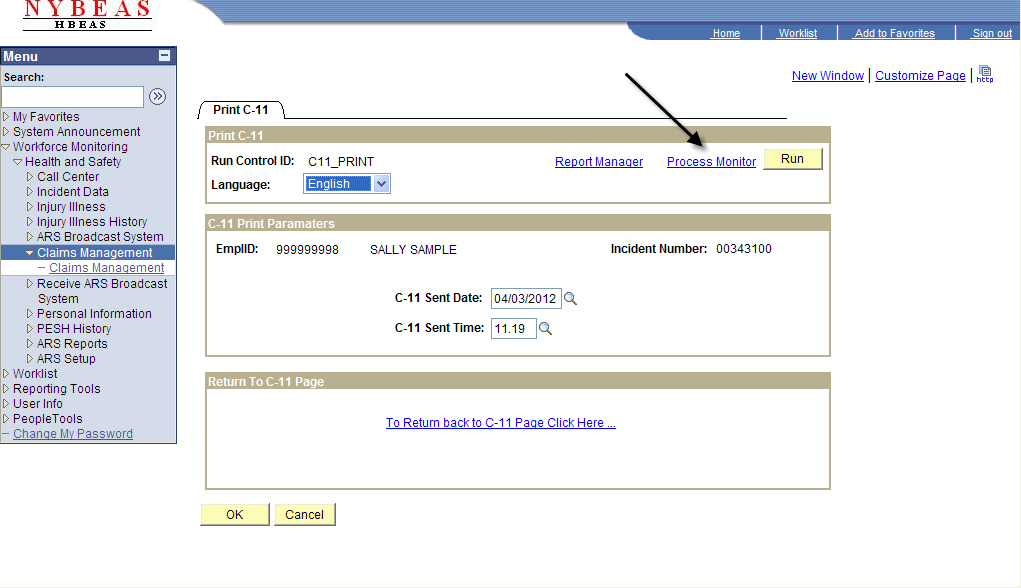
Click Print C-11 to print a paper copy of a C-11 that was already sent.
The date and time the C-11 was sent will be populated. If you would like to print a different C-11, use the magnifying glass features to search for the correct form.
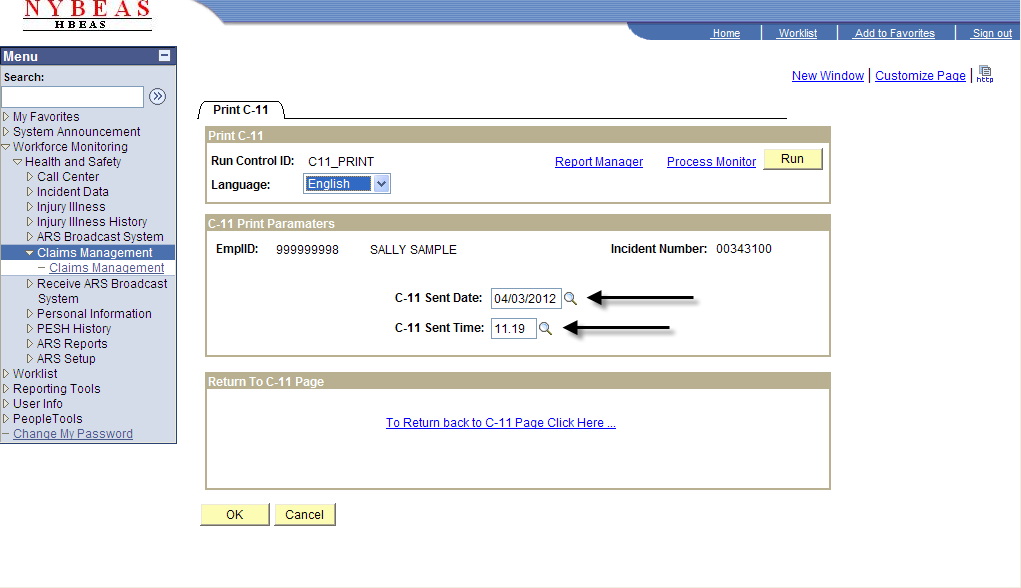
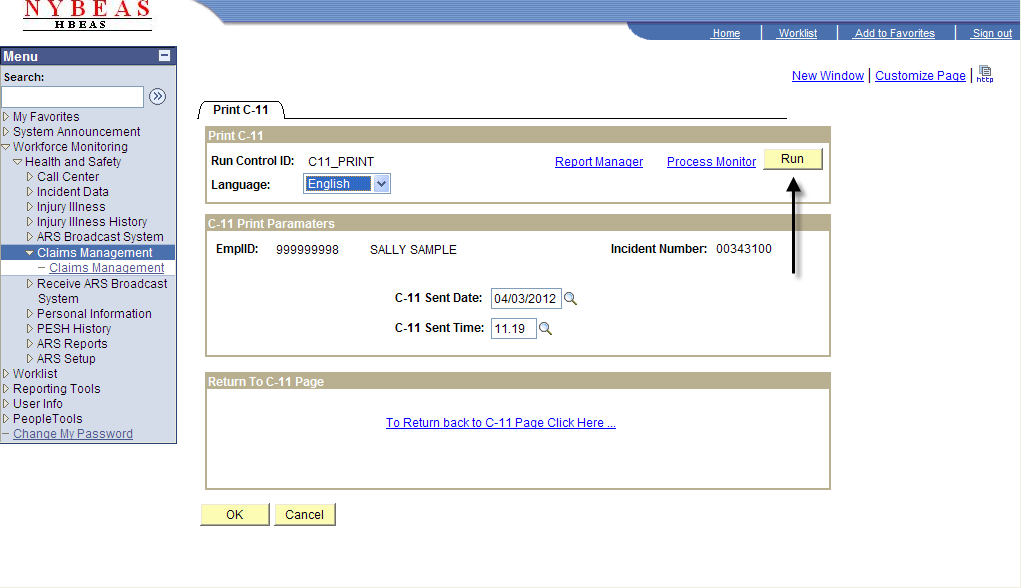
Click Run.
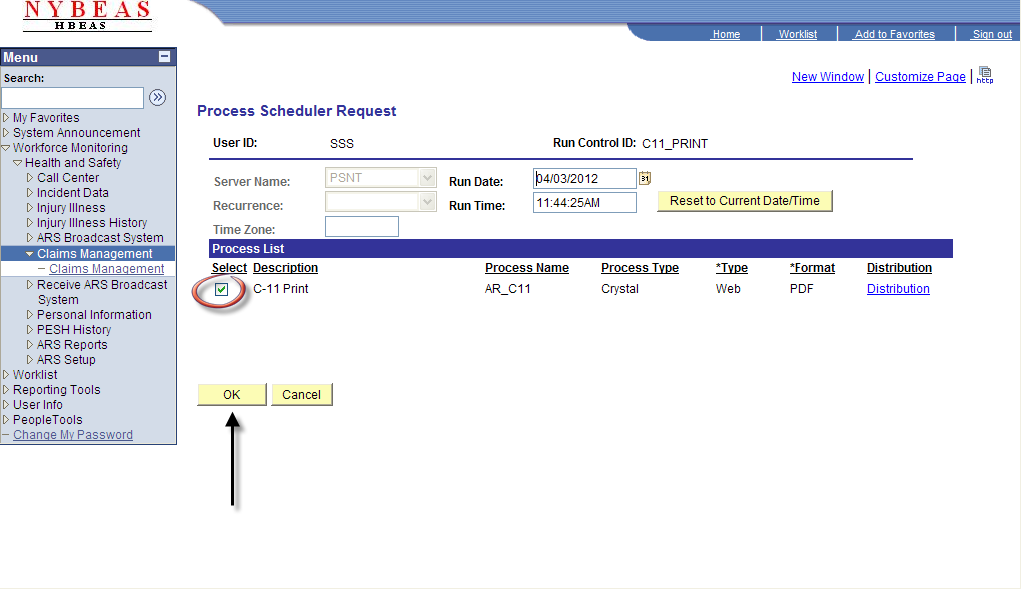
Under the Process List, notice that the checkbox next to the form is checked. If correct, click OK.
Click Process Monitor.
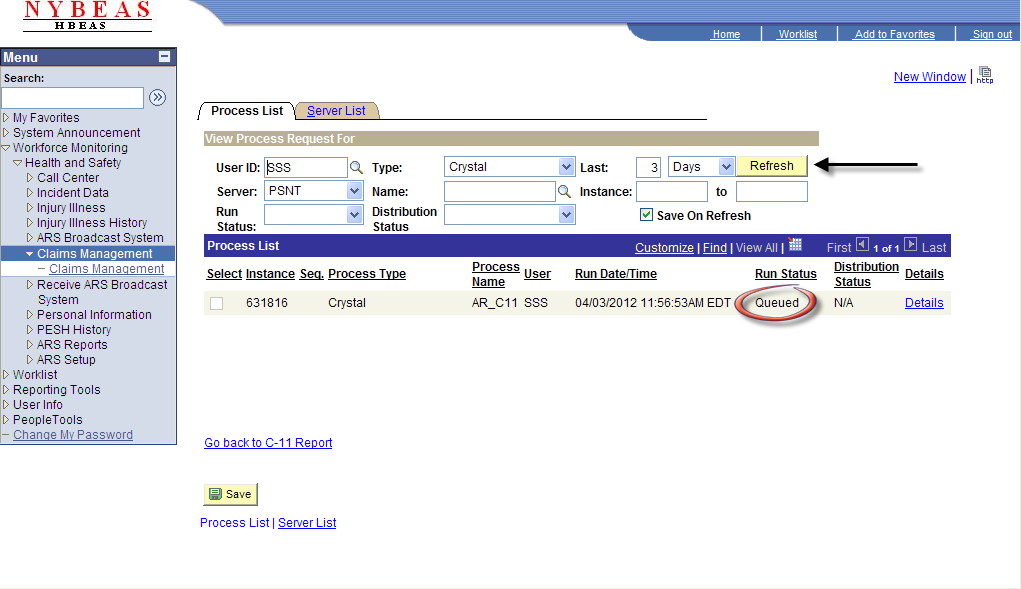
The most recent report created will be displayed at the top of all requests under the Process List. Under Run Status, you will see Queued, Initiated, Processing, then Success. (You may need to click the Refresh button until Success is shown.)
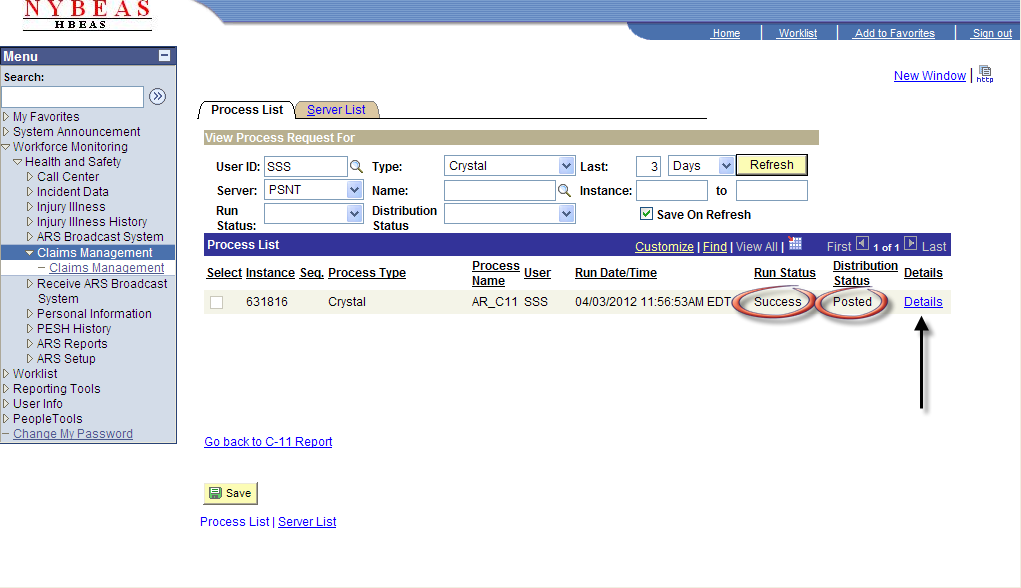
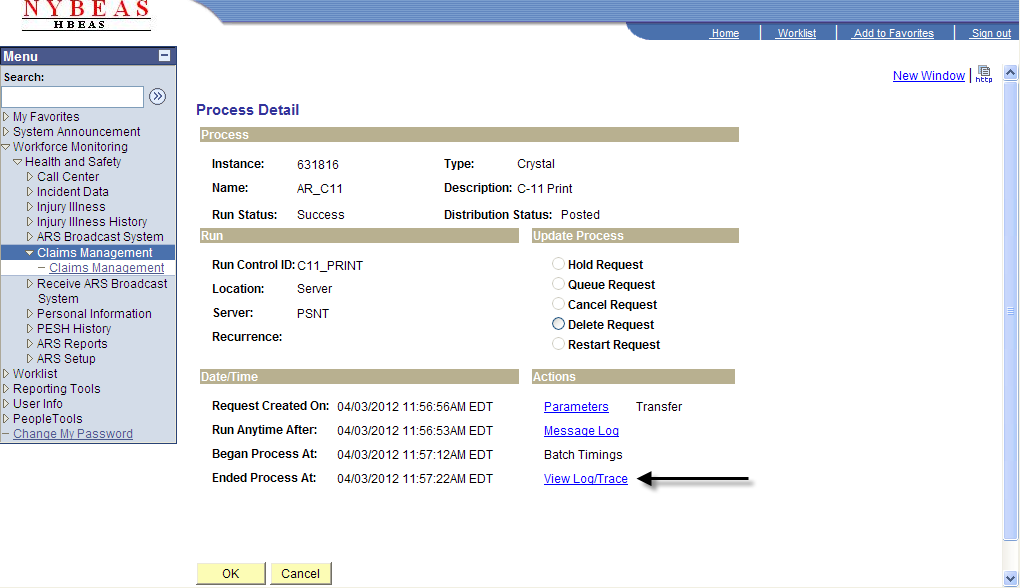
Once the Run Status displays Success and the Distribution Status displays Posted, click on Details.
On the Process Detail page, click on View Log/Trace.
Click on the .PDF file under File List.
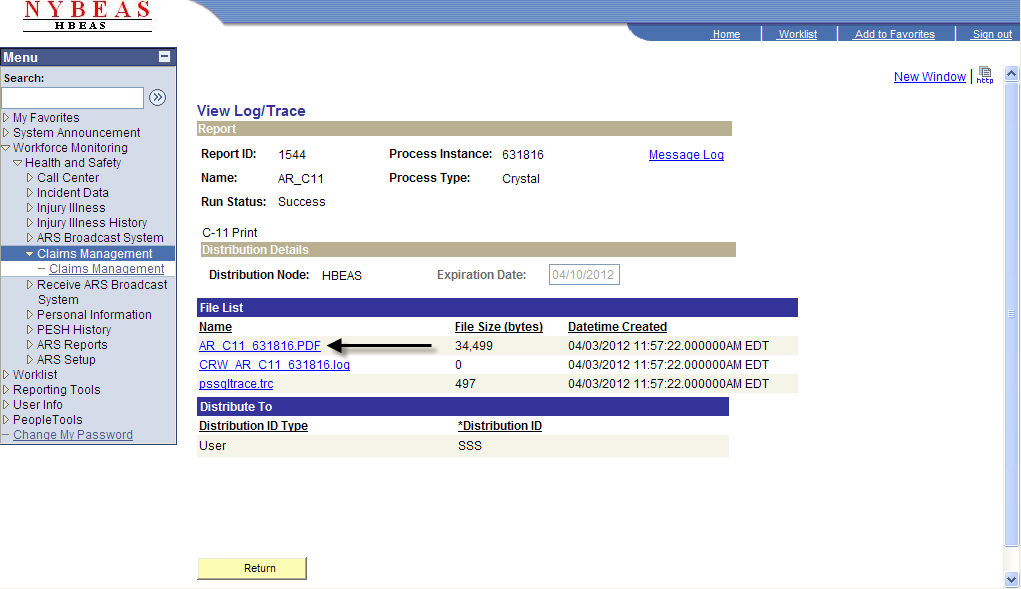
The form will open in Acrobat/Adobe Reader for viewing. Click the Printer icon at the top of the page to print the form.